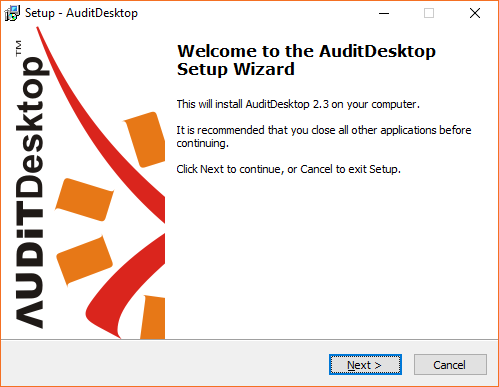
1. The Welcome screen will appear right after you start the Setup
Wizard. To continue, click Next.
-
Please read the License Agreement. Mark the I accept the
agreement option to agree to the terms. Click Next. -
The window displays our contact information. For more details, visit
our website. To continue, click Next. -
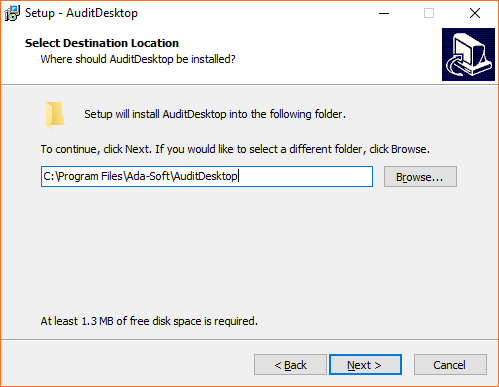
If you want to change the Setup folder, click Browse. To
proceed, click Next.
- Select the Standalone version installation type. To do so, you
can either use the drop-down menu or select it manually. The program
will display the amount of disk space required for the respective
installation. Click Next.
- Standalone version - installs the standalone version of the
program for one workstation, without network - Database with FSAA - a database with the Financial Statement
Audit Approach (FSAA) will be saved in a selected folder - Working paper templates - installs empty parametrised Excel or
Word templates, used for the creation of File and Lead
schedule working paper types. They are installed in
the following folder on the local computer: Public
Documents\Ada-Soft\AuditDesktop
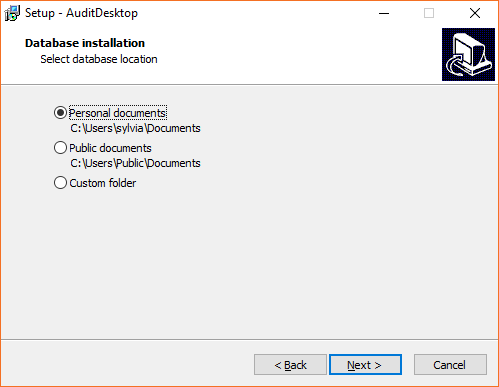
- Select whether the database will be installed in Personal
documents, Public documents or Custom folder. If you select
the latter option, in the next step the program will ask you to choose a
folder. Click Next.
-
The Setup Wizard will display where it will create the program's
shortcuts. If you want to change the folder, click Browse. Click
Next to continue. -
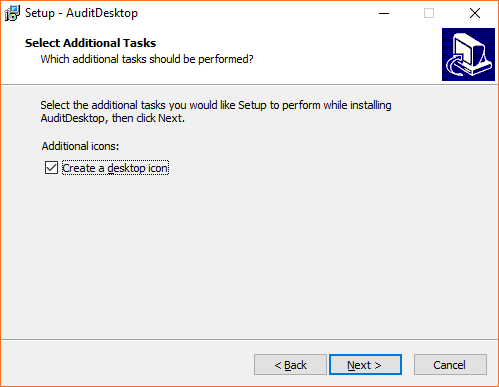
The application icon will be placed on your desktop. If you do not
want a desktop icon, unmark the Create a desktop icon option. Click
Next to continue and start the installation process.
-
You can now initiate the installation process. To do so, click
Install. If you wish to review your settings or make any changes,
click Back. -
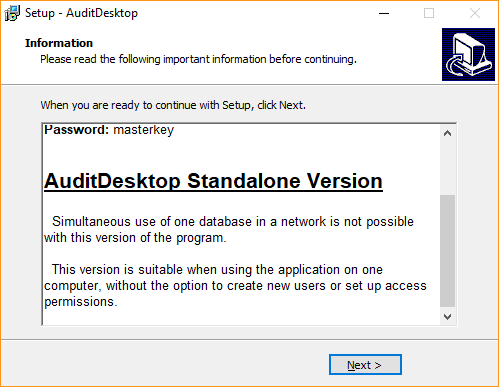
The window displays information about your selected installation
version. To continue, click Next.
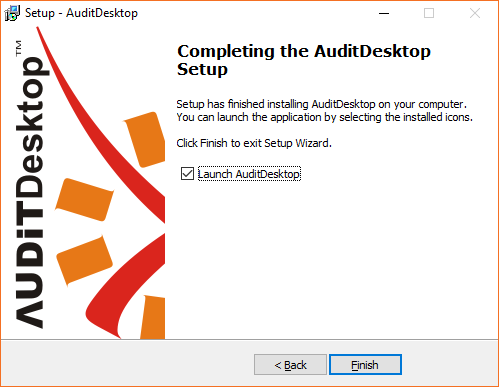
- If you want to launch the application immediately, mark the Launch
AuditDesktop option and click Finish. To launch it later on,
unmark Launch AuditDesktop before clicking Finish.